5 Completely different Methods to Take away Background in Photoshop
Let’s take a look at the methods Photoshop will help us delete backgrounds leaving your topic intact, in addition to a intelligent plugin, which does a good higher job as a background eraser instrument.

1. Photoshop Take away Background instrument
That is the only strategy to take away the background of your picture in Photoshop. This methodology is best suited in case you are not too fussy about getting clear edges in your topic.
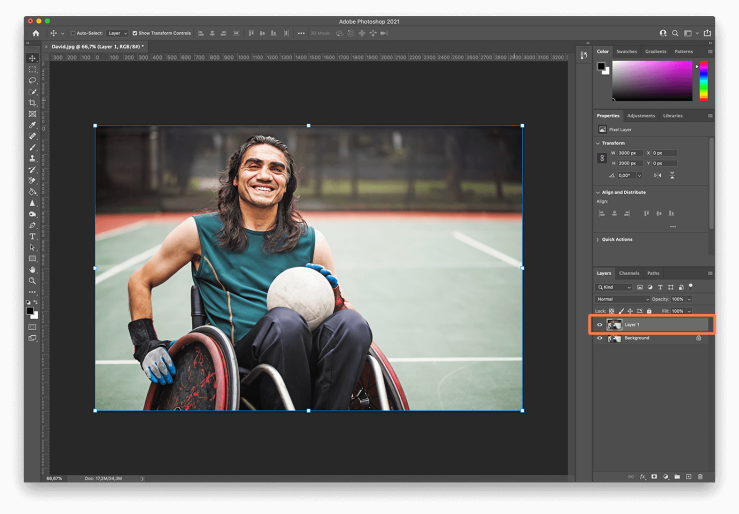
First, open your picture in Photoshop and go to the right-hand Layer panel. Duplicate the present layer by urgent Command+J on macOS or CTRL+J on Home windows.
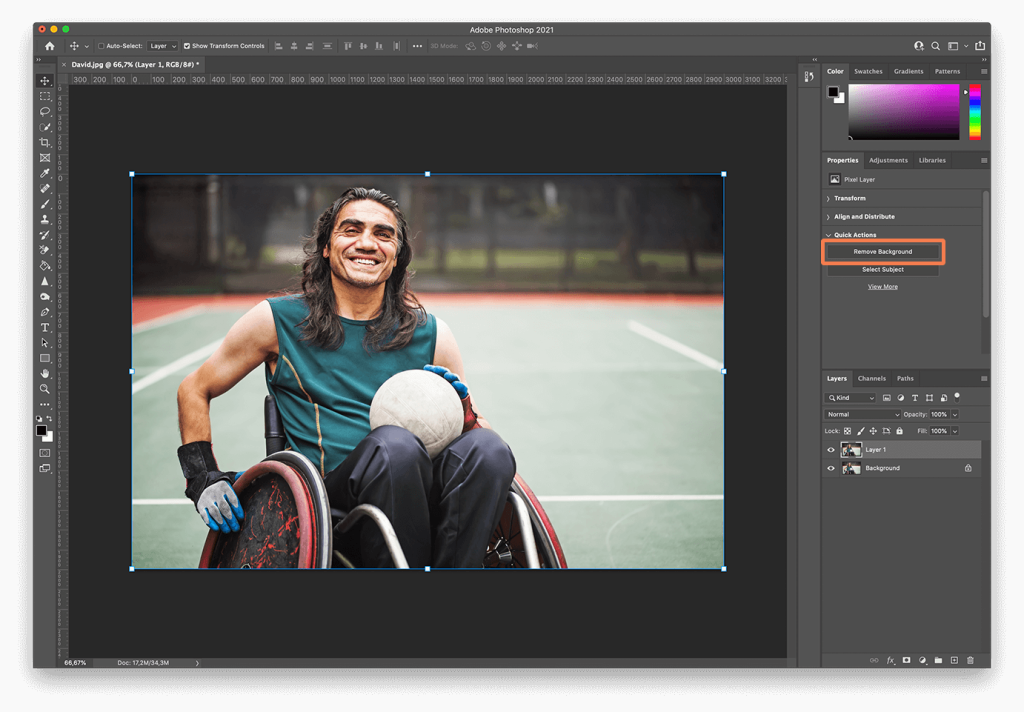
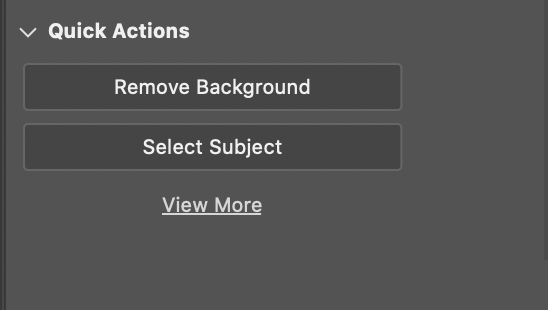
For the ultimate step, go to the Fast Actions panel and click on on the Take away Background button, which ought to then finalize the method of eradicating the background in Photoshop.
2. remove.bg’s Photoshop plugin
take away.bg’s plugin for Photoshop is one of the simplest ways to separate the background from the topic.
The plugin is healthier than the software program in isolating difficult components and edges comparable to hair. It’s also possible to use the layer masks to take away or restore areas of the picture – however you continue to solely have to click on one button.
Get began by following these steps:
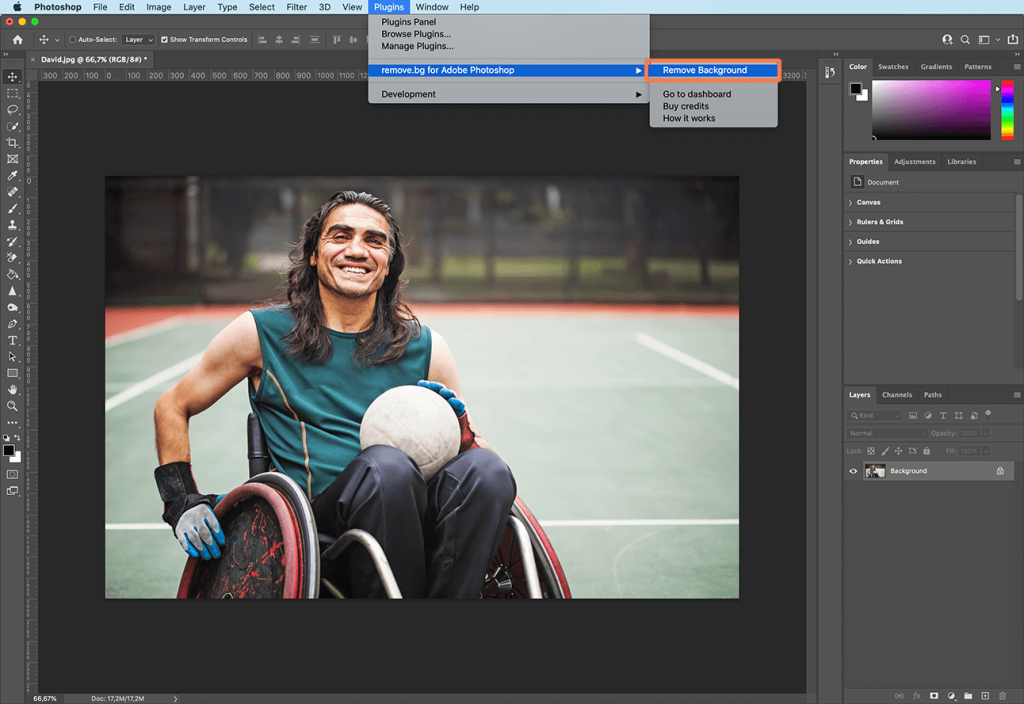
Download the plugin. Downloading take away.bg’s plugin for Photoshop is freed from cost. It’s also possible to purchase credit to course of photographs – which you should utilize in all take away.bg merchandise and integrations. Upon getting put in take away.bg, you will discover it within the Plugins drop-down menu.
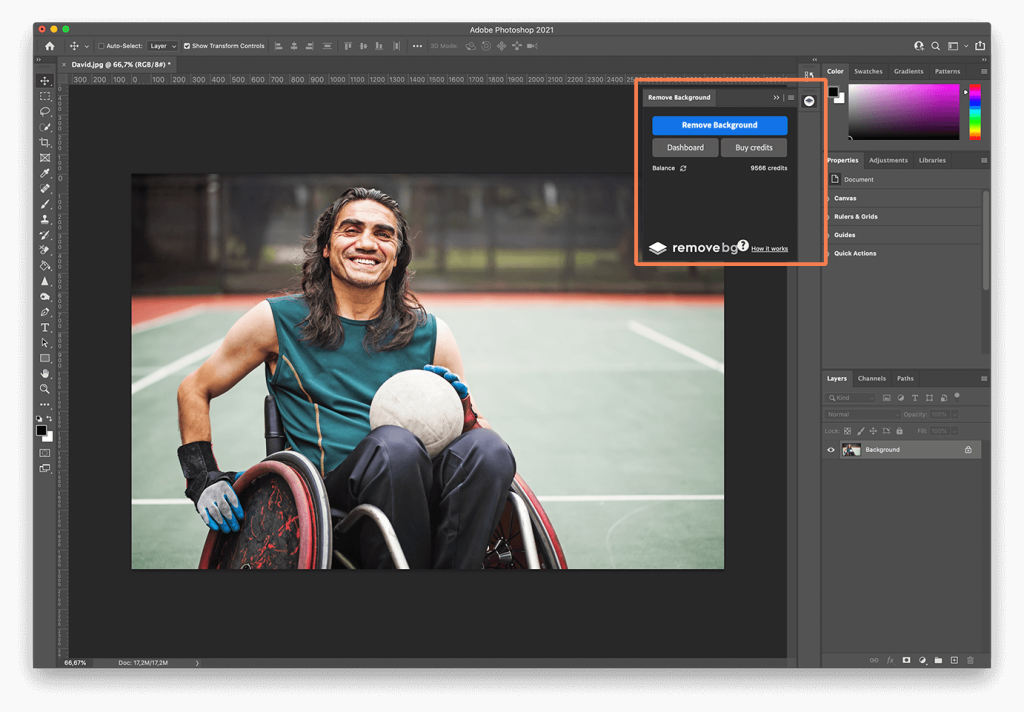
Log in to your take away.bg account and click on the Take away Background button anytime you need to take away the background from the at present opened picture (or choice) in Photoshop. Keep in mind, the picture is processed by means of the take away.bg API so that you want an lively web connection and an API key (which you will discover in your account’s dashboard).
Signing up offers you one free credit score, and 50 free API requires preview (decrease decision) photographs every month.
For extra in-depth set up directions, take a look at our help page and for more information in regards to the take away.bg pricing, click on here.
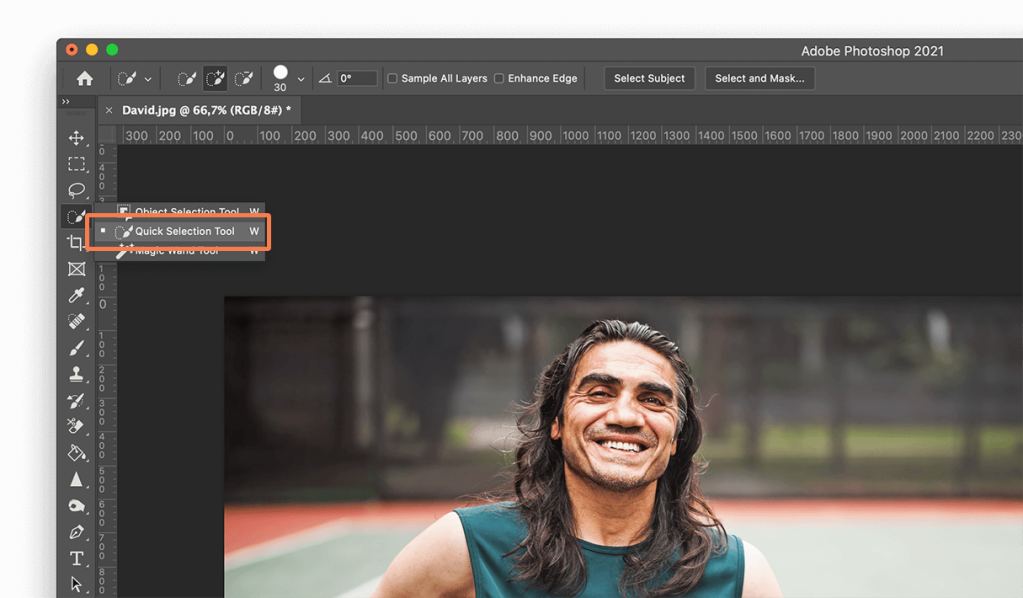
3. The Fast Choice instrument
Photoshop’s Fast Choice Instrument makes use of synthetic intelligence to determine in real-time the place the perimeters of the topic and the start of the background fall.
The instrument works greatest when there’s a clear distinction between your foreground choice and your background. If there’s an excessive amount of similarity within the pixels, it should get confused and you’ll spend hours including and subtracting components.
When you’ve carried out the preliminary choice, you’ll be able to toggle between including to the choice and subtracting from the choice within the menu.
Tips on how to use the Fast Choice Instrument
- Open your picture in Photoshop.
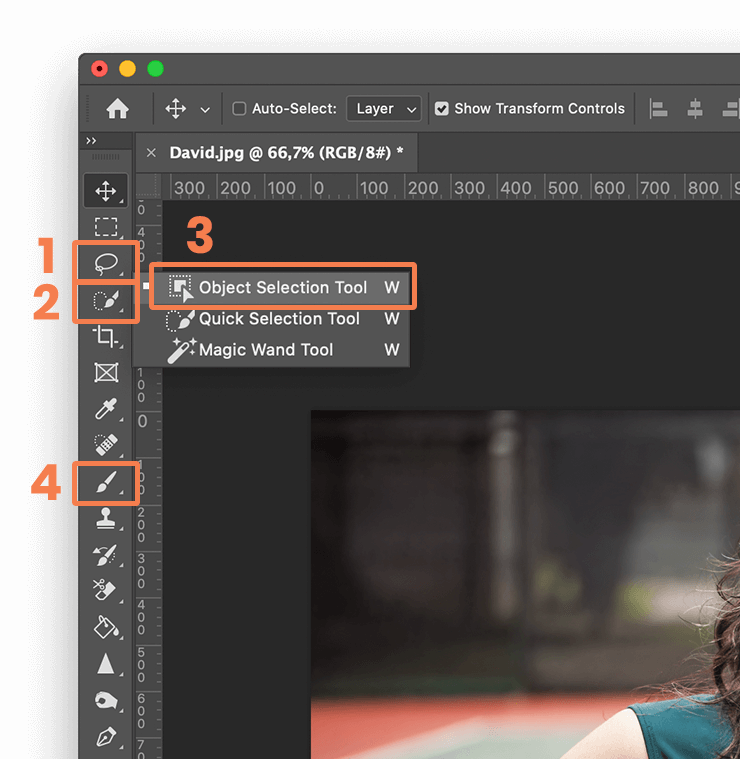
- Discover the Fast Choice Instrument within the left-hand menu (Photoshop Toolbox). It may very well be nestled in Magic Wand Instrument.
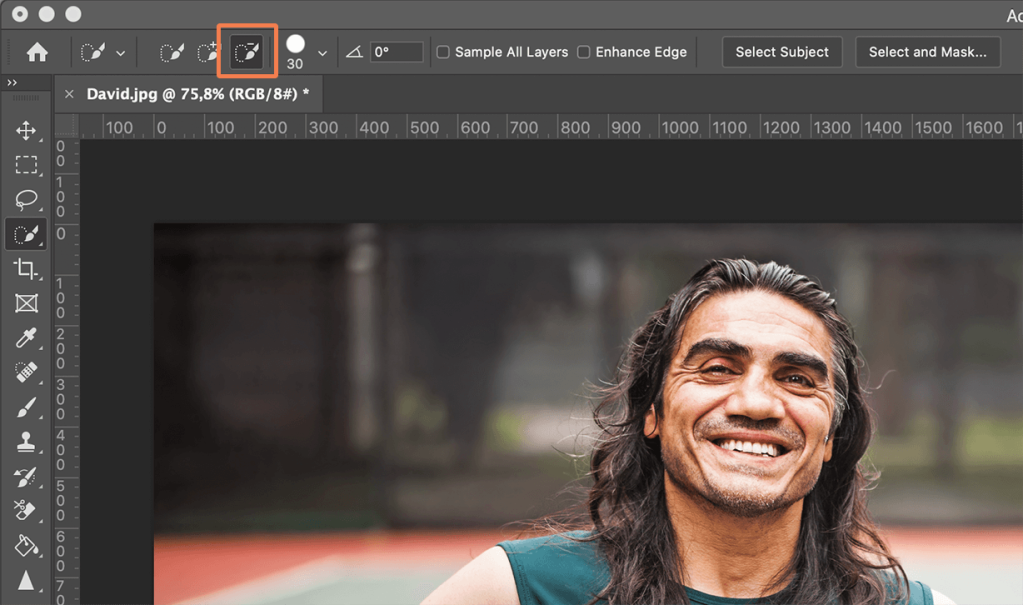
- Examine Improve Edge within the Choices bar, which ought to provide you with smoother, higher-quality choice edges.
- Click on the button and transfer the pointer over the world you need to choose. Fast Choice will discover tones that match the choice till it thinks it’s discovered an edge.
- You may discover you need to add to the choice. In that case, simply click on and drag over one other space.
- If the Instrument has been over-enthusiastic, you’ll be able to subtract from the choice. To do this, press the Choice key (macOS) or Alt key (Home windows) and transfer over to the part you need to deselect.
- Or you’ll be able to change the Instrument to deselect (minus) within the menu bar to deselect something you mouseover.
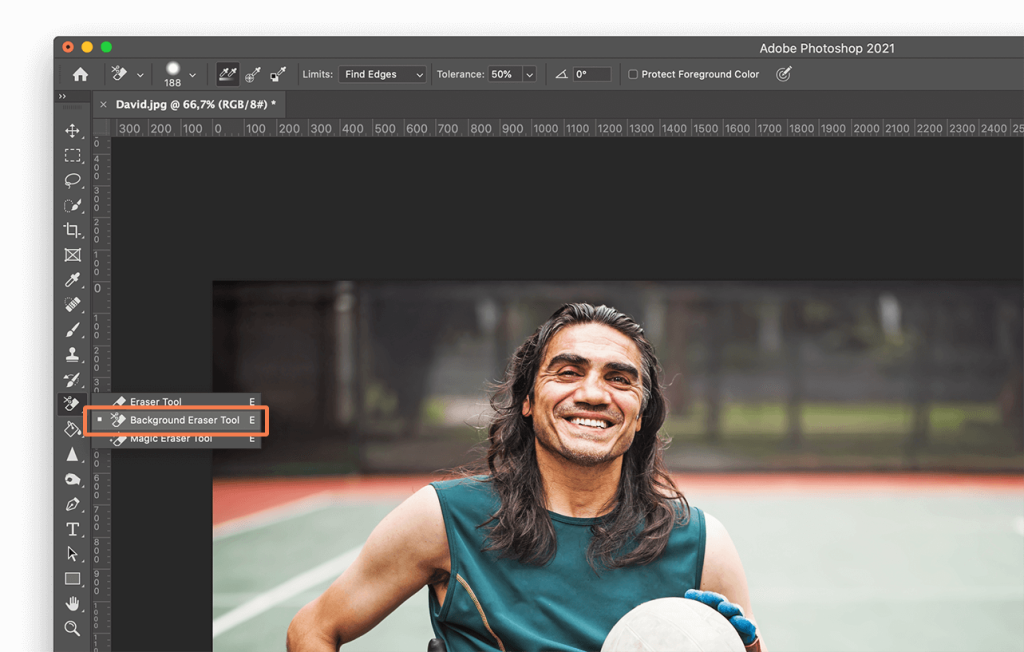
4. The Background Eraser instrument
This instrument is used to take away backgrounds in photographs with greater than a certain quantity of superb element between topic and background.
It really works by taking a pattern of the hue on the middle of the comb and deciding on the identical or related coloured pixels as you progress the mouse.
Tips on how to use the Background Eraser instrument
- Open your picture in Photoshop.
- Discover the Background Eraser Instrument within the Photoshop Toolbox. It may be hidden throughout the Eraser submenu, so click on and maintain that or press E to spotlight it.
- Ensure that the comb is the fitting dimension. You should use the [ and ] bracket keys or modify it within the menu bar. A bigger brush is faster however you want precision in case you are working in tight areas. You’ll be able to and may zoom in, as properly.
- You need the comb to be good and exhausting on the slider, as properly. When you have fuzzy edges, you’ll go away behind artifacts. Shift [ and ] will cut back or enhance hardness.
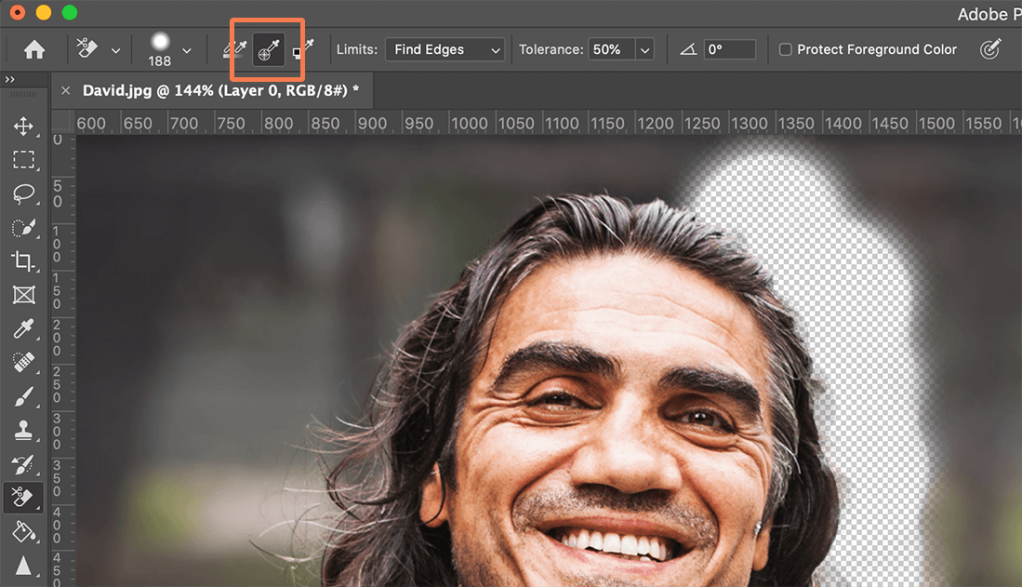
- Set Limits on the menu to Discover Edges.
- Place the middle of your brush over the colour you need to take away and click on. You’re going to get rid of any matching hue inside your tolerance (see under) and go away behind different colours – like this.

- Tolerance is how broad the bracket of shade is that the circle will take away. In the event you had been going to take away this grass from behind the legs, you’d desire a excessive tolerance as a result of there are yellowish stalks and brownish leaves. Clearly, if somebody was sporting inexperienced leggings, you may be in hassle. Begin with it set to 25 and see the way you go.
- Keep in mind that the Background Eraser Instrument will erase any matching shade its crosshairs are over, so you want to hold these on the background shade.
- Background Eraser is about to Steady Sampling by default.
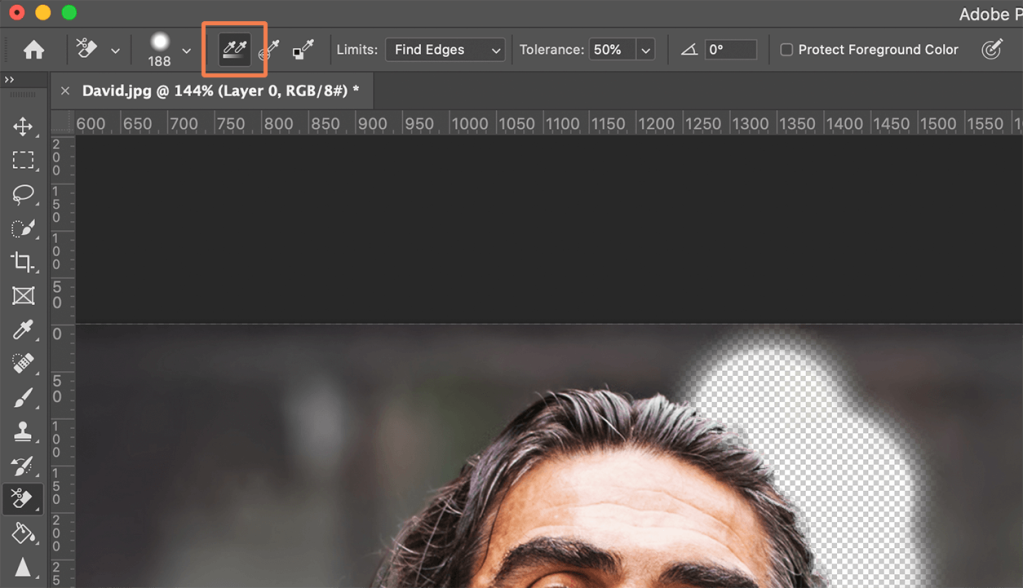
Meaning it should delete any matching shade these crosshairs come across. When you have many alternative hues in your background you have to to maintain sampling and deleting them. Nevertheless, in the event you solely have one hue (or a slender bracket of hues) comparable to a blue sky, you’ll be able to change to As soon as.
In that case, even in the event you mouse over a unique shade, it should solely pattern and delete the colour you began on. You might be much less more likely to delete a part of the topic by mistake.
- If there’s too shut a match between the background shade and topic and you retain discovering your topic being worn out, right here’s one other trick. Click on Shield Foreground Color (far proper of the Instrument menu). Press and maintain Alt (Win) / Choice (Mac) key and use the eyedropper instrument which pops as much as pattern the hue you need to shield from destruction.
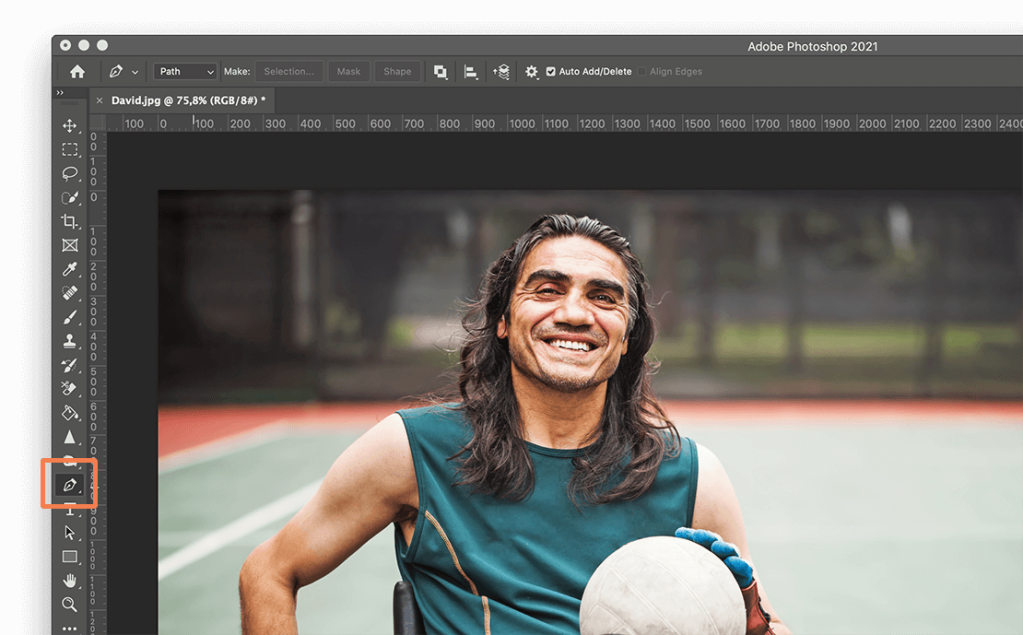
5. The Pen instrument
The Pen Instrument is the furthest from AI choice you will get with out going freehand. (Freehand is, in fact, an possibility you should utilize–in Layer and Masks– particularly if fuzzy edges are OK, comparable to a lightweight sea towards a lightweight sky.)
Anyway, the Pen Instrument permits you to draw round an space utilizing a mix of straight strains and flexing curves. You’ll be able to toggle between the 2 by mousing over a node and urgent the Management/ CTRL-key.
As a result of the instrument is so intuitive, it’s fairly exhausting to explain easy methods to use it in phrases! The most effective factor to do is to observe this video by Phlearn after which really feel your manner into utilizing it. It’s fairly enjoyable.
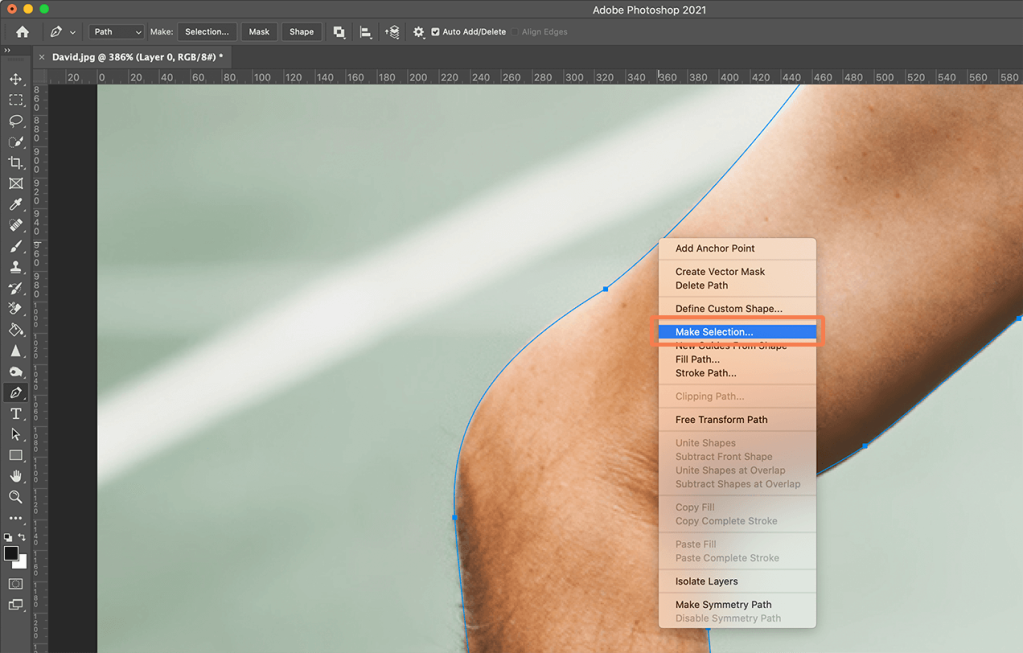
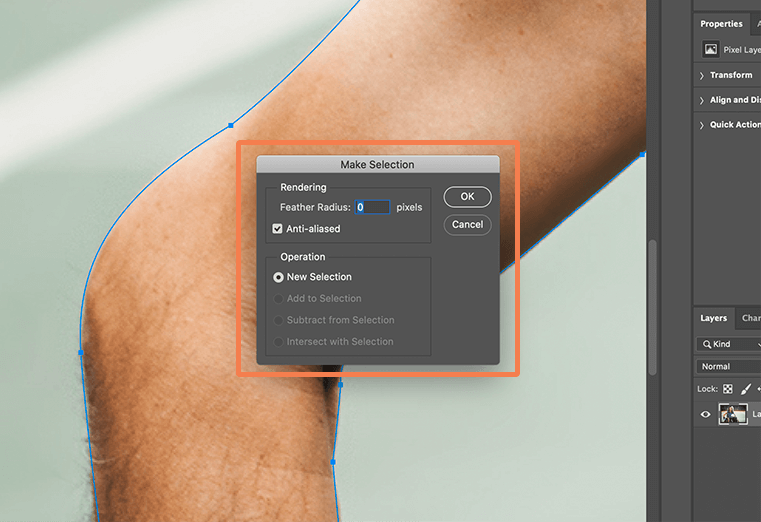
You need to use the Pen Instrument to create a Path (on the far left within the layer panel). Then right-click on the choice and press ‚Make Choice…‘ to alter a Path into a variety.
If you’re working with a variety, you may need to enhance the feathering of edges a bit of bit as a result of exhausting edges can look unnatural, particularly towards a brilliant background.
Refining your choice
We’ve proven you a wide range of methods on easy methods to take away the background of a picture in Photoshop.
You have got in all probability already found that no a technique is ideal (you may get left with areas of shade in between hairs, you may discover components of your topic get reduce off).
Fortunately, you’ll be able to mix strategies, particularly in the event you work in Paths, that means you’ll be able to alter the define of a variety as you go alongside.
You might choose the topic with the Fast Choice Instrument after which use the Background Eraser Instrument to get rid of background colours left behind by that methodology.
One other manner of going about issues is to make your preliminary choice after which click on the Choose and Masks button.
This may carry up an entire new set of choices that let you alter the perimeters of your choice or change the character of the sting (for instance, you’ll be able to feather it to make it softer or enhance the distinction to make it more durable).
You’ll acknowledge a number of the instruments from the primary Photoshop menu.
From high to backside, listed below are the edge-changing instruments:
- Lasso Instrument supplying you with the flexibility to create a freehand choice.
- Fast Choice, which we’ve got already lined.
- Object Choice Instrument. Select this selection and Photoshop will attempt to establish the boundaries of discrete objects or shapes throughout the masks.
- Brush Instrument, permitting you to instantly paint onto your choice so as to add to it. (Don’t overlook to zoom proper into your picture and modify the dimensions of your brush with ‚[‚ and ‚]‘ keys.
Studying easy methods to take away the background of a picture in Photoshop opens a door to many new inventive endeavors comparable to collage, collateral design and greetings playing cards and different bespoke gadgets for your loved ones and associates.
The apply of eradicating backgrounds could be easy or complicated. Our information offers you all the pieces you want to create the photographs you need combining pace and precision.
Now, in case you are on the lookout for a extra easy strategy to take away picture backgrounds, you’ll be able to all the time use take away.bg. Your background might be eliminated in 5 seconds and also you’ll be left with a flawless picture even in essentially the most difficult of corners. However don’t take our phrase for it. Give it a try to see it for your self.